Endless Card
Supplies Needed:
- Empowering Endless Card template
- Markers
- Glue
- Scissors
Instructions:
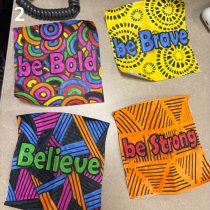
- Color in your templates.
2. Cut out each square.
3. Cut the “Be Bold” square horizontally, cutting the words in half.
4. Cut the “Be Brave” square vertically, cutting between “Be b” and “rave”.
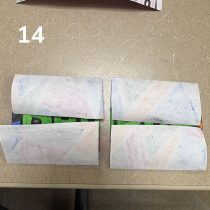
5. Fold the ends of each strip towards the middle. The ends should meet in the middle.
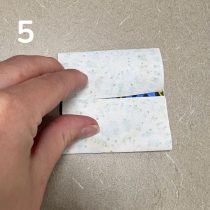

6. Repeat the folds for all 4 strips. Be sure to press down on the fold to make a well-defined crease.
7. Unfold the strips.
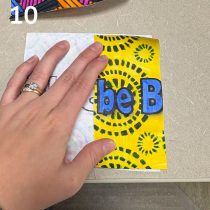
8. Place the “Be Bold” strips next to one another and turn them over.
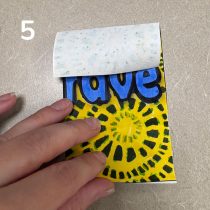
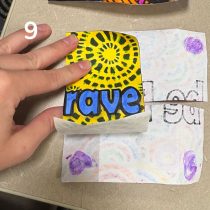
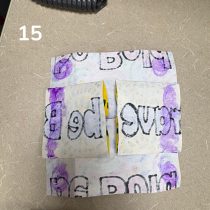
9. Glue “rave” on the left side of the backwards “Be Bold” square. Only place glue on the top and bottom corners- where the purple is in the picture.
10. Glue “Be b” on the right side of the backwards “Be Bold” square. Again, only place glue on the top and bottom corners. Yes, “Be Brave” should be read incorrectly!
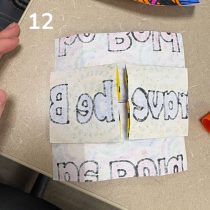
11. Turn your card around so “Be Bold” is facing you.
12. Flip the top half up and the bottom half down. You should have two horizontal square flaps facing you.

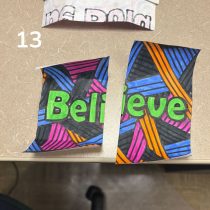
13. Cut the “Believe” square vertically, cutting between the “i” in the word.
14. Fold the two strips like you did in step #5-7.
15. Glue “Beli” on the left side of the square. Glue the entire left side – note the purple in the picture.
16. Glue “ieve” on the right side of the square.

17. Flip the left side to the left and the right side to the right. You should have two vertical square flaps facing you.
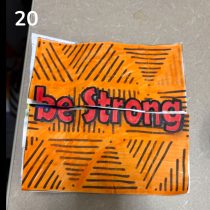
18. Cut the “Be Strong” square horizontally, cutting the words in half.
19. Fold the two strips like you did in step #5-7.
20. Glue “Be Strong” on the square. Place glue on the whole surface – where the purple is in the picture.
21. Let glue dry completely, then test out your endless card by flipping your square at the cuts.